
Last updated October 31, 2026
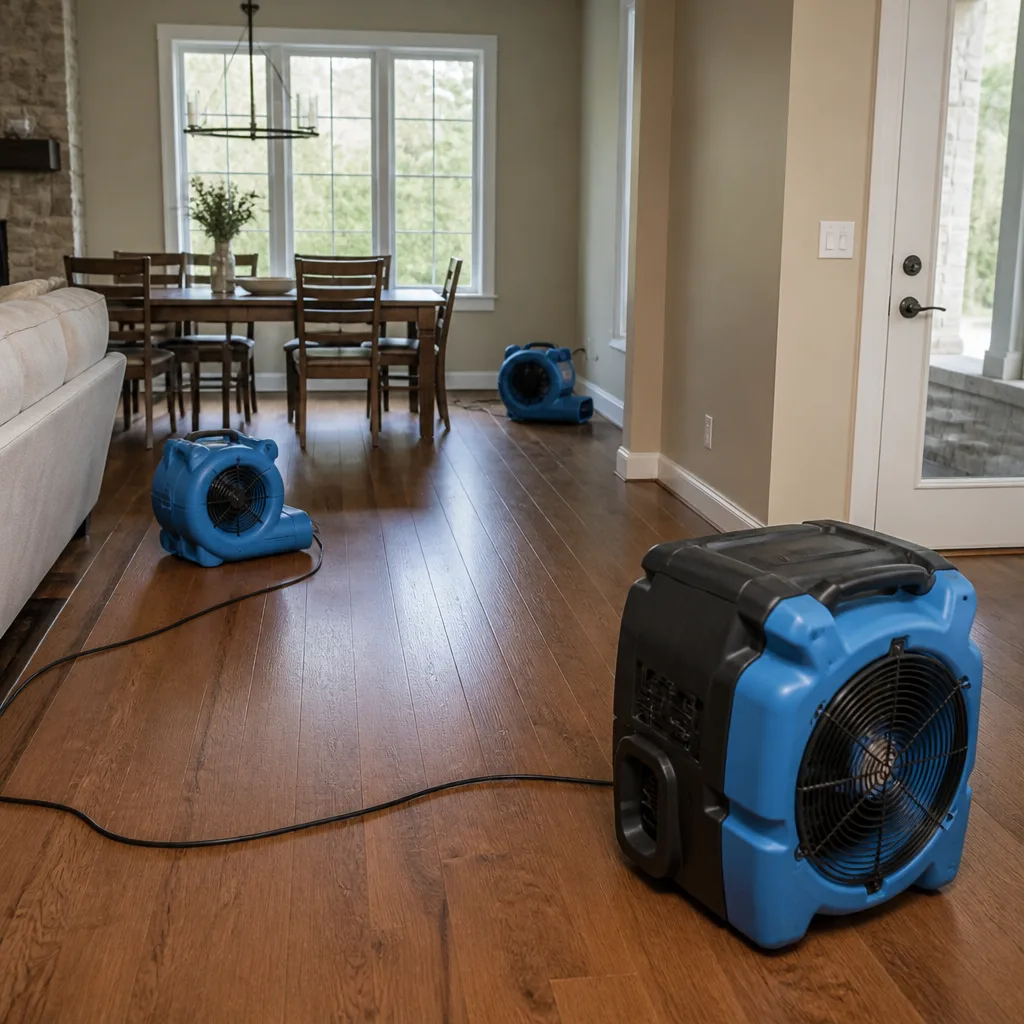 Water damage drying
 Fire & smoke cleanup
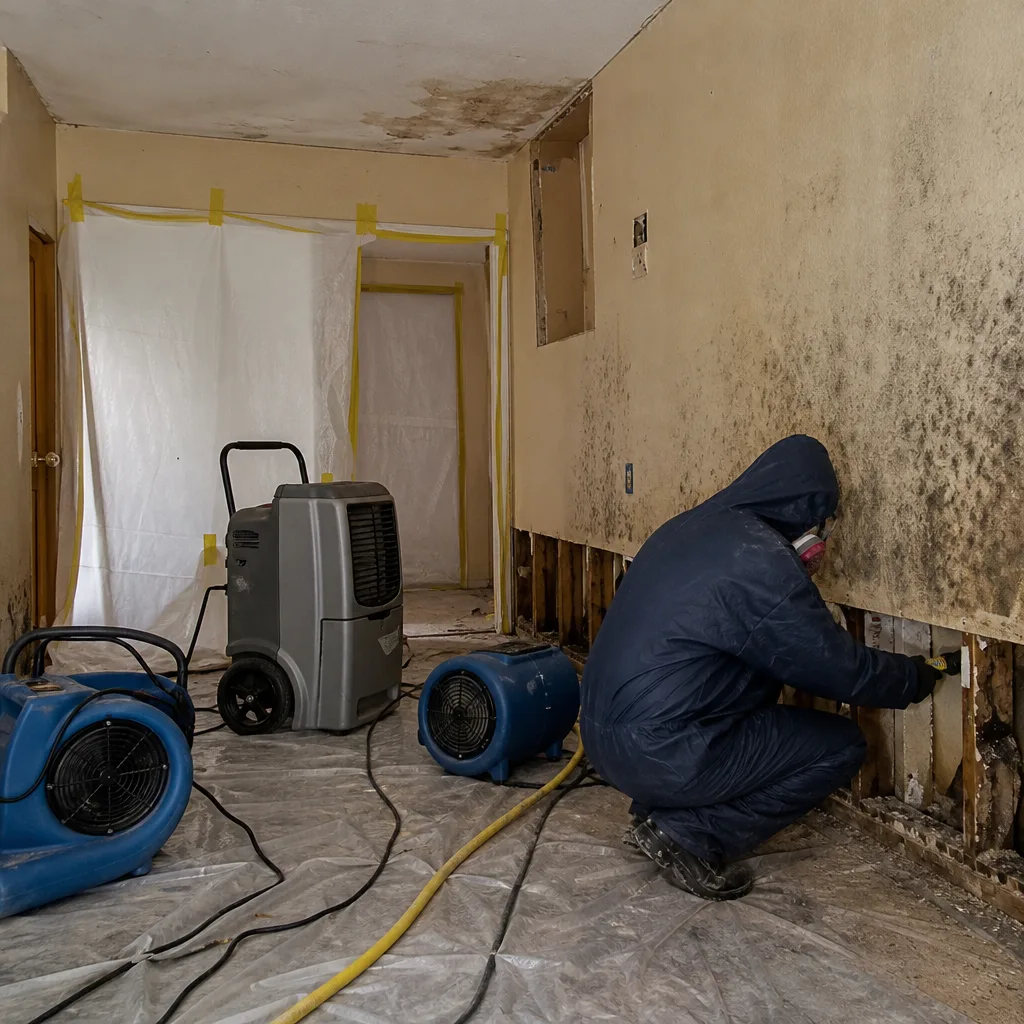
 Mold remediation
 Storm response
 Sewage cleanup
 Reconstruction
Free visual inspection and a written scope of work before any mitigation begins - photos, moisture readings, and drying logs go in your claim file
The scope we write is the scope we bill. Anything new gets shown to you, in writing, before we touch it.
Get your free estimateWater Damage Restoration Maintenance Checklist for Pomona Homeowners
Homes that have experienced one water loss event are statistically more likely to experience a second, not because of bad luck, but because the original vulnerability was treated without being eliminated. A restoration crew can dry a wall cavity to standard, but the pinhole leak in a galvanized supply line or the hairline crack in a stem-wall foundation is still there, waiting for the next rainy season or irrigation cycle. This checklist is built for Pomona homeowners who have already been through water damage restoration and want to make sure they never call a mitigation team twice for the same root cause. You’ll learn the specific inspection points, seasonal adjustments, and documentation habits that catch relapse conditions before they become active losses.
Restoration work we handle
Quick Answer
A post-restoration maintenance checklist for Pomona homes should focus on monthly inspections of previously affected areas (checking for efflorescence, soft drywall, and returning odors), seasonal irrigation adjustments that keep water moving away from foundations, and humidity monitoring with a consumer hygrometer to catch hidden moisture before it reactivates mold. See our Water Damage Restoration Troubleshooting: Common Problems and How to Fix Them for deeper guidance. Homeowners should also retain all restoration documentation, including drying logs and clearance reports, and schedule professional reinspections when readings exceed 55% relative humidity indoors or when musty odors return.
Table of Contents
- Understanding Relapse: Why Water Damage Returns to Treated Homes
- Monthly Visual Inspections of Previously Affected Areas
- Reading Humidity: What Your Hygrometer Is Actually Telling You
- Pomona Plumbing Vulnerabilities: Galvanized Lines and Clay Laterals
- Seasonal Irrigation Adjustments for Slab and Stem-Wall Foundations
- What Your Restoration Company Should Have Left Behind
- Seasonal Shifts: Pomona Heat, Santa Anas, and Winter Rains
- Common Mistakes to Avoid
- When to Call a Professional
- Frequently Asked Questions
- The Bottom Line
Understanding Relapse: Why Water Damage Returns to Treated Homes
In our experience with restorations across Pomona, the most frustrating phone call we receive is from a homeowner who says the same wall is wet again twelve months after we dried it. It happens more often than most contractors will admit, and it is almost never because the original drying was incomplete. It is because the source of the water was repaired, but the pathway was not addressed.
Think of it this way: a restoration crew dries the wall cavity and replaces the damaged drywall. But the exterior grade still slopes toward the foundation. The downspout still discharges three feet from the stem wall. The clay sewer lateral still has a root intrusion at the 40-foot mark. The water will find those same pathways again because water always follows the path of least resistance, and that path has not changed.
Pomona’s specific geography compounds this. The city sits against the eastern edge of the San Gabriel Valley, where alluvial soils shift with seasonal moisture changes. Homes built on slab foundations in neighborhoods like Phillips Ranch and Westmont experience subtle soil movement that can open hairline cracks in concrete over time. Stem-wall foundations in older sections of town, particularly in the areas developed before 1960, have weep screeds and sill plates that are vulnerable to rising damp when irrigation oversaturates adjacent soil.
A relapse prevention checklist therefore has one job: identify the conditions that allow water to reach the structure before the water actually does. That is a different task than routine home maintenance. It requires looking at specific failure points with a restoration mindset, not a housekeeping mindset.
Monthly Visual Inspections of Previously Affected Areas
Set a recurring calendar reminder for the first Saturday of each month. Walk the areas that were treated during your restoration, plus the rooms directly below and adjacent to them. These are the inspection points that matter most.
Step-by-Step Monthly Inspection
- Check baseboards for swelling or separation. Run your fingers along the top edge of baseboards in previously affected rooms. Gaps that were caulked and painted should remain closed. Any new separation, bubbling paint, or a chalky white residue on the caulk line suggests moisture is wicking up from below.
- Look for efflorescence on exposed concrete. If your garage floor, stem wall, or any exposed block foundation shows a white, powdery mineral deposit that was not there before, water is moving through the concrete and depositing minerals on the surface. In Pomona’s older homes with block foundations, efflorescence is one of the earliest and most reliable relapse indicators.
- Press-test drywall at baseboard level. Use your thumb and push firmly against the drywall about two inches above the floor in previously affected rooms. Restored drywall should feel uniformly rigid. Any softness, even slight, means moisture is present behind the surface. Do not ignore soft drywall. By the time drywall feels soft to the touch, the moisture content is typically above 20%, which is well into mold activation territory.
- Sniff each previously affected room. Your nose is a legitimate moisture detection instrument. A musty or earthy odor that returns in a room that was professionally dried and deodorized indicates either residual moisture in a hidden cavity or a new moisture source. Odors do not return without moisture. Trust your nose and investigate.
- Inspect the caulk lines around tubs, showers, and sinks. Failed caulk is one of the most common reintroduction points for water damage. Look for cracking, peeling, or discoloration. If water has been getting behind the caulk, you may see a faint staining at the grout line or a darkening at the seam where the fixture meets the wall.
- Check ceilings below any second-floor plumbing. If your restoration involved an upstairs bathroom, inspect the ceiling below it every month. Look for faint yellowing, a slight sag in the drywall, or a ring that appears where paint meets ceiling texture. These are the earliest signs of a slow leak from a supply line or drain above.
Document what you find. A simple note on your phone with the date and a photo takes ten seconds and creates a record you can reference if a problem develops. This documentation habit is the same one professional restoration contractors follow, and it will make any future insurance claim process smoother because you will have a timeline.
Reading Humidity: What Your Hygrometer Is Actually Telling You
Consumer hygrometers are inexpensive, widely available, and genuinely useful for post-restoration monitoring. But the number on the display only matters if you know what it means for a home that has been professionally dried.
Here is the key distinction: after professional Water Damage Restoration in Pomona, the structural materials in your home should have been dried to an equilibrium moisture content appropriate for Pomona’s climate. That typically means indoor relative humidity in the 30% to 50% range during normal conditions, with building materials that measure below 16% moisture content when tested with a professional meter. A consumer hygrometer only measures ambient air humidity, not material moisture, but it still serves as an early warning system.
Humidity Thresholds for Post-Restoration Homes
- Below 50% relative humidity: Normal range for a Pomona home. No action needed.
- 50% to 55% relative humidity: Elevated but not necessarily alarming. Check whether the reading is localized to one room or consistent throughout the house. If localized, investigate the previously affected area first. Run a dehumidifier and recheck in 48 hours.
- 55% to 60% relative humidity: This is the threshold where mold spores that survived your initial remediation, as dormant spores always do, can begin to reactivate. Call a restoration professional for a moisture assessment if this reading persists for more than 72 hours or if it correlates with any visual signs.
- Above 60% relative humidity: Active moisture problem. Do not wait. At this level, hidden moisture is almost certainly present in wall cavities, under flooring, or in the subfloor. The cost of investigation is always lower than the cost of remediation.
Place hygrometers in the rooms that were previously affected, not in hallways or central living areas. Wall cavities and subfloor spaces hold moisture longer than open air, so a reading in the previously affected room is the most accurate indicator of what is happening behind the surfaces. We have seen cases in Pomona where a central hallway reading was 42% but the affected bathroom read 58% because the shower valve had a slow leak behind the wall. The location of the meter matters as much as the number.
During Santa Ana wind events, Pomona’s outdoor humidity can drop into the single digits. Indoor readings will naturally dip during these periods, which is normal. What you are watching for is a sustained elevation in the previously affected area relative to the rest of the house. A 5% to 10% differential between rooms is a red flag that deserves investigation.
Pomona Plumbing Vulnerabilities: Galvanized Lines and Clay Laterals
Pomona’s housing stock has a specific plumbing profile that every homeowner should understand. The city saw significant residential development in the 1950s and 1960s, with another wave in the 1980s. Each era has its own failure modes.
Galvanized Supply Lines in Pre-1970s Homes
If your home was built before roughly 1970 and the supply lines have not been replaced, there is a high probability that you have galvanized steel pipe behind your walls. Galvanized pipe corrodes from the inside out. The zinc coating wears away, the steel begins to rust, and the internal diameter narrows until the pipe either leaks at a threaded joint or bursts under normal water pressure.
The problem for post-restoration homeowners is that galvanized pipe failures are rarely dramatic. They start as pinhole leaks that weep for weeks or months inside a wall cavity before anyone notices. By the time water stains appear on drywall, the cavity has been wet long enough to support mold growth.
Two things to consider if you have galvanized supply lines. First, check your water pressure with a pressure gauge on a hose bib. Pressure above 80 PSI accelerates corrosion and increases leak risk. A pressure regulator may be needed. Second, if one section of galvanized pipe has failed and caused a water loss, the rest of the system is on the same timeline. Replacing only the failed section is treating a symptom. The remaining pipe is just as old and just as corroded.
Clay Sewer Laterals and Root Intrusion
Pomona’s older neighborhoods, particularly those developed before 1970, frequently have clay sewer laterals running from the house to the city main. Clay pipe segments are joined with mortar or gasketed fittings, and those joints are vulnerable to root intrusion from mature trees. Pomona’s street trees, including the ficus and sycamore species common in older residential areas, have root systems that travel surprising distances toward water sources.
A root intrusion in a clay lateral does not cause an immediate water loss. It creates a partial blockage that worsens over time. Wastewater backs up gradually, and eventually a toilet overflows or a floor drain in the garage starts backing up during heavy use. That is the event that triggers the restoration call.
If your original water loss involved a sewer backup, ask your plumber to camera the lateral and confirm the material. If it is clay and roots were present, the root intrusion was likely the cause and will recur without either a permanent liner installation or a lateral replacement. This is exactly the kind of vulnerability that needs to be eliminated, not treated, if you want to avoid a second restoration event.
Seasonal Irrigation Adjustments for Slab and Stem-Wall Foundations
Irrigation is the most overlooked water damage vector in Pomona. Sprinkler systems are set once in the spring and forgotten, but Pomona’s seasonal moisture swings demand adjustments that most homeowners never make.
How Irrigation Causes Water Damage
Water from sprinklers follows gravity and soil capillary action. When irrigation oversaturates the soil adjacent to a foundation, that water migrates through the soil and contacts the concrete. For slab foundations, oversaturated soil can cause soil expansion and heaving, which opens cracks in the slab. For stem-wall foundations, water wicking through the stem wall introduces moisture into the sill plate and the floor framing above.
The overlap between sprinkler coverage and foundation proximity is the specific failure point. A sprinkler head that sprays directly onto a stem wall is actively delivering water to your foundation every time the system runs. Multiply that by three watering cycles per week over a Pomona summer, and you have delivered thousands of gallons of water to the exact place you do not want it.
Seasonal Irrigation Adjustments
- April through October (dry season): Water deeply but less frequently. Target the root zone of plants, not the foundation perimeter. Adjust heads so no spray pattern contacts the stem wall or runs down the side of the house. Keep a minimum 12-inch dry zone between the foundation and any irrigated soil.
- November through March (rainy season): Shut off automatic irrigation entirely or reduce to a single weekly cycle. Pomona receives most of its annual rainfall between November and March, and adding irrigation water on top of natural rainfall oversaturates soil quickly. Oversaturated soil against a foundation is a moisture migration problem waiting to happen.
- During Santa Ana events (typically October through December): Santa Anas are dry winds that parch the top few inches of soil, which leads homeowners to increase irrigation. Resist that impulse. The surface dryness is misleading. If you have been watering deeply through the summer, the deeper soil still holds adequate moisture. Adding more water creates exactly the oversaturation conditions that drive moisture against foundations.
- Check rain sensors annually: If your irrigation controller has a rain sensor, test it at the beginning of the rainy season. A failed rain sensor means your system runs during and immediately after storms, which is the worst possible timing for foundation moisture management.
In Pomona’s specific context, homes in the northern hills above the 10 freeway, including parts of Phillips Ranch and Ganesha Hills, face additional drainage considerations. These hillside properties have natural runoff patterns that concentrate water at the downhill foundation corner. If your original restoration involved water intrusion at one specific corner of the home, inspect that corner after every significant rain event and verify that surface water is flowing away, not toward.
What Your Restoration Company Should Have Left Behind
A professional restoration company leaves more than dry walls and replaced baseboards. It leaves a documentation trail. If your restoration company did not provide this, ask for it. If they cannot provide it, that tells you something about how the work was performed.
Essential Post-Restoration Documentation
- Drying logs: Daily records of moisture readings from affected materials, ambient humidity levels, and equipment performance. These logs document that materials reached the drying goal, which for structural wood is typically below 16% moisture content. Drying logs are also critical evidence for insurance claims if the same area becomes wet again.
- Clearance report: If mold remediation was part of the restoration, you should have received a post-remediation clearance report from a third-party environmental professional. This report confirms that airborne mold spore counts have returned to normal levels or fallen below the levels found outside the home. Under IICRC-aligned standards, this clearance verification is the difference between “we think we got it” and “it is verified dry and clean.”
- Moisture map: A diagram or floor plan showing which areas were affected, what drying equipment was placed where, and what final moisture readings were recorded at each location. This map tells you exactly where to focus future monthly inspections.
- Reinspection schedule: Some restoration companies schedule a follow-up visit at 30, 60, or 90 days after completion. At Clean Slate Water Damage, we recommend a professional reinspection at the 90-day mark for any restoration involving water damage behind walls or under flooring. That is when hidden moisture issues become visible if they were missed during initial drying.
If you are working with a company that uses professional-grade equipment like XPOWER air movers, Phoenix dehumidifiers, and Injectidry drying mats, the drying logs should reflect that equipment’s performance characteristics. Injectidry systems, which force dry air directly into wall cavities and subfloors, are particularly effective at drying spaces that traditional equipment cannot reach without demolition. That non-invasive drying capability means less rebuild work and a faster return to pre-loss condition, but it also means the documentation should show the cavity drying readings, not just surface readings.
Seasonal Shifts: Pomona Heat, Santa Anas, and Winter Rains
Pomona has a Mediterranean climate with distinct seasonal patterns that affect moisture management in previously restored homes. Understanding these patterns helps you time your inspections and anticipate risk windows.
Summer Heat and the Drying Paradox
Pomona summers are hot and dry, with daytime highs regularly exceeding 90 degrees. That heat creates a paradox for post-restoration homes. The dry air pulls moisture from soil and building materials efficiently, which is good. But the heat also causes thermal expansion in pipes and fittings, which can stress old plumbing connections and create new leaks. Galvanized pipe threaded joints are particularly vulnerable to thermal stress, as the steel expands and contracts at a different rate than the surrounding structure.
The practical implication: inspect plumbing-adjacent areas after prolonged heat waves. A leak that starts during a week of 100-degree temperatures may not be visible until the wall dries enough to show staining, which can take weeks.
Santa Ana Wind Events
Santa Anas typically arrive in the fall and early winter, bringing single-digit humidity and strong winds. These conditions dry the surface of the soil dramatically, but they do not eliminate deep soil moisture. Homes on slab foundations may experience minor soil shrinkage, which can open existing hairline cracks slightly. For a home that has already experienced foundation-related water intrusion, monitor any known cracks during Santa Ana season and seal them before the winter rains arrive.
Winter Rain Events
Pomona receives most of its annual rainfall in a handful of intense storm events between December and March. These storms can deliver an inch or more of rain in a 24-hour period, which tests every drainage system on the property. The critical inspection window is not during the storm, when the water is obviously flowing. It is 24 to 48 hours after the storm, when slow seepage through foundation cracks and exterior wall penetrations has had time to manifest.
After a significant rain event, check the interior perimeter of the foundation in the garage, the baseboards in ground-floor rooms, and the ceiling below any roof penetrations. If water is finding a path, it will show as a faint dampness or a cold spot on the wall before it shows as a visible stain.
Common Mistakes to Avoid
- Ignoring a musty odor because “it’s just an old house.” Musty odors in a post-restoration home are never just an old house smell. They indicate active moisture or residual mold. A home that was professionally dried and remediated should not smell musty. If it does, the restoration was incomplete or a new moisture source is present.
- Painting over water stains without addressing the source. A new coat of paint hides the evidence but does nothing to stop the moisture. By the time the stain reappears through the new paint, the damage has spread further into the wall cavity and the remediation cost has increased significantly.
- Setting irrigation timers once and forgetting them. Pomona’s seasonal moisture swings are significant. An irrigation schedule that is appropriate in August is destructive in January. Adjust sprinkler settings at least twice per year, and verify that no spray pattern contacts the foundation or stem wall.
- Using a consumer dehumidifier instead of calling a professional. A hardware-store dehumidifier can dry the air in a small room, but it cannot dry water trapped inside wall cavities or under flooring. Running a consumer dehumidifier for weeks may bring your hygrometer down while the real moisture problem continues behind the drywall.
- Assuming the insurance claim closed means the problem is solved. Insurance pays for the restoration of the damaged area. It does not pay for eliminating the original vulnerability. The closed claim is the beginning of your relapse prevention responsibility, not the end of it.
- Failing to maintain the documentation from the original restoration. Drying logs, moisture maps, and clearance reports are not just paperwork. They are your baseline for future comparison. If a reinspection shows elevated moisture in a previously affected area, the original readings tell your restoration company exactly what normal looks like for your home.
- Sealing foundation cracks from the inside only. Interior sealants stop water from entering the living space but do not address the water pressure building against the exterior of the foundation. That water will find another entry point, often within inches of the original one. Proper foundation water management starts with exterior drainage correction.
When to Call a Professional
Some conditions on this checklist can be handled with DIY attention: adjusting sprinkler heads, documenting inspection findings, running a dehumidifier for a short-term humidity spike. But certain conditions demand a professional assessment immediately. If you see efflorescence on concrete that was not there before, if drywall feels soft to the touch at any point, if a musty odor returns to a previously remediated area, or if your hygrometer reads above 55% in an affected room for more than 72 hours, stop and call a restoration professional. These are the signs of active moisture in hidden spaces, and the cost of delay compounds quickly. Mold Remediation in Pomona is always more expensive when the mold has had time to establish a colony than when it is caught in the activation stage. Clean Slate Water Damage offers free estimates in Pomona, call (888) 508-8745 if any of these conditions appear in your home.
Frequently Asked Questions
Inspect previously affected areas monthly, and do a full perimeter inspection of your Pomona home’s exterior drainage and foundation seasonally, particularly after major rain events and during irrigation season changes.
Keep indoor relative humidity between 30% and 50%. Readings above 55% that persist for more than 72 hours indicate a possible hidden moisture problem that warrants professional investigation.
A returning musty odor means moisture is present somewhere in the previously affected area, or the original remediation was incomplete. Odors require moisture to activate, so trust the smell and investigate immediately.
A consumer dehumidifier can manage ambient humidity in a room, but it cannot dry water trapped in wall cavities, subfloors, or under flooring. Professional-grade drying equipment like Dri-Eaz LGR dehumidifiers and Injectidry systems are required for that level of moisture removal.
Most policies cover sudden and accidental water damage events, including a second occurrence, but they may not cover damage that results from neglected maintenance. Documenting your inspections and showing that you addressed known vulnerabilities strengthens any future claim.
Do not paint over the stain. Mark the area, photograph it, check the humidity in the room, and call a restoration professional for a moisture assessment. The stain means water has reached the drywall from behind, which indicates a source that has not been eliminated.
The Bottom Line
Water damage relapse prevention is a repair, not a chore. The homes in Pomona that stay dry after restoration are the ones where homeowners actively monitor previous affected areas, understand their plumbing and irrigation vulnerabilities, and act on early warning signs before they become active losses. Keep your documentation, check your hygrometer in the rooms that matter, adjust your irrigation seasonally, and call a professional when the readings or the symptoms say something is wrong. The Clean Slate Water Damage home team has seen the difference that consistent monitoring makes, and it is the single most reliable way to avoid a second restoration event. If your original damage involved fire as well as water, our Fire Damage Restoration in Pomona services address the full damage cycle, so one team handles everything from initial mitigation through final clearance.
Written by the team at Clean Slate Water Damage, serving Pomona since 2018.
See the difference
 Before
 After
 Before
 After
 Before
 After